Friday, September 30, 2011

Hassleback Potatoes


All I can say is ... YUMMY! I already love potatoes, but this was seriously awesome for such a simple recipe. This recipe reminded me of a mixture between potato chips and scalloped potatoes without the cheese. 

Ingredients:
  • Potatoes
  • Olive Oil/Butter - I used olive oil to be healthier
  • Salt - Sea Salt is the best
  • Knife
  • Cookie Sheet
  • Oven (duh)
 First cut the potatoes. Try to make them thin and even. Cut down almost to the bottom. It helps to look at the potato from the side instead of from the top. 


Try not to cut all the way through. But don't freak out if you do. It's still cookable and eatable.


Place them on a cookie sheet and pour olive oil over them. I tried to get some in the cracks too. Then sprinkle some salt on top.


Pop them in the oven at 425 for about 40 minutes. They are done when crispy on the outside and soft on the inside.


I paired it with a big caesar salad. I barely got a picture before my boyfriend ate it all!


Thursday, September 29, 2011

Fabric Rosette Headband


These fabric rosettes are really cute and easy. I have seen them on so many craft projects and I fell in love. I learned how to make them from this tutorial. I like them because they are messy, yet cute and compact.

Ingredients
  • Fabric - the longer your strip of fabric, the bigger the flower will be. I used a 2"x 12" strip for my big flowers and a 2"x 9" strip for the little one.
  • Hot Glue Gun
  • Scissors
  • Headband - or whatever you want to attach the flowers to
Cut out your fabric and fold it in half lengthwise.


*I have no idea what was going on with the background colors
Tie a knot at the end. Make sure to leave a tiny tail so you can fold it under the knot.


With some hot glue, fold the little tail under the knot.


After it is secure start folding your long fabric strip around your knot. Twist inward towards the knot and secure with glue at intervals. I glued every two twists.


Keep twisting and gluing around the flower. As you get toward the end make sure to leave enough to tuck under the bud.


Twist the end and tuck under. Secure with glue.


Once that is dry flip it over and attach a small circle of fabric to the bottom. This helps keep the flower from falling apart and covers the gritty bottom edges for a clean finish.


Clip the edges of the circle so they do not stick out from under the rosette. Now you have a finished product! They are so easy it was hard not to make a bunch of them. 


I did make a couple more so I could put them on a headband.


I used the hot glue and attached them to the headband. I adjusted them so they covered the spots on the headband. 


This turned out really cute! I love this headband and I cannot wait to wear it. I will wear it to work today!


Wednesday, September 28, 2011

SGW - Shed Garage Workshop

We have finally (almost) finished the SGW. 
If you are wondering why it is called SGW it is because my boyfriend says it is a garage (even though only a smart car could fit) and I call it a shed; and we both agree it is a workshop. So I dubbed it SGW to be a peacemaker.
We finished painting the outside walls and trim this week. The inside is unfinished, but that will come in time.
I think this is a major accomplishment for my sweetie. He, with family help, built this shed from scratch. I am so impressed and proud of him. Here are some pictures to show the transformation:


Quite an endeavor, don't you agree? I helped a bit...


... and then I decided this was not my thing. I prefer crafting.

Tuesday, September 27, 2011

Bloody Nails


I just killed something! No, not really. But, I made some super scary nails that are perfect for Halloween. Whether you plan on being a zombie or a slasher, this look can add a 'polished' detail to your costume. 
I love this idea because it is really easy and it doesn't matter if you are messy.

First put either one or two globs of paint on a nail.


Then drag the glob up toward the end of your nail and then put a thick, imperfect line on the edge of the nail.


Make each nail different and don't forget your glossy, clear top coat.


* Evil cackle not necessary, but encouraged

Monday, September 26, 2011

Make Your Own Chicken Stock


Mmmmm fresh chicken stock is such a treat. I usually use those chicken broth cubes, but it is nothing compared to homemade stock. Considering how long this takes it's really not that labor intensive after the first hour. This can be the base for so many things like soups or risotto. It can be frozen and chucked into the freezer until you need it. 

Ingredients:

  • 2 chicken carcasses
  • 1 onion - quartered
  • 2 to 3 large carrots - chopped in thirds
  • 3 celery stalks - chopped in thirds 
  • 3 whole garlic cloves - unpeeled
  • Seasonings - I used salt, pepper, and basil and added them to taste.
  • A large pot
  • A bunch of water
  • 6 to 8 hours of free time
Put everything into a pot. I used an 8 quart pot (my new one!).


Add a lot of water. You will be adding water as you go, so don't worry too much about measuring the initial water. Just make sure to fill it up so everything is submerged. This can be difficult because everything floats in the beginning, but just use your judgement.


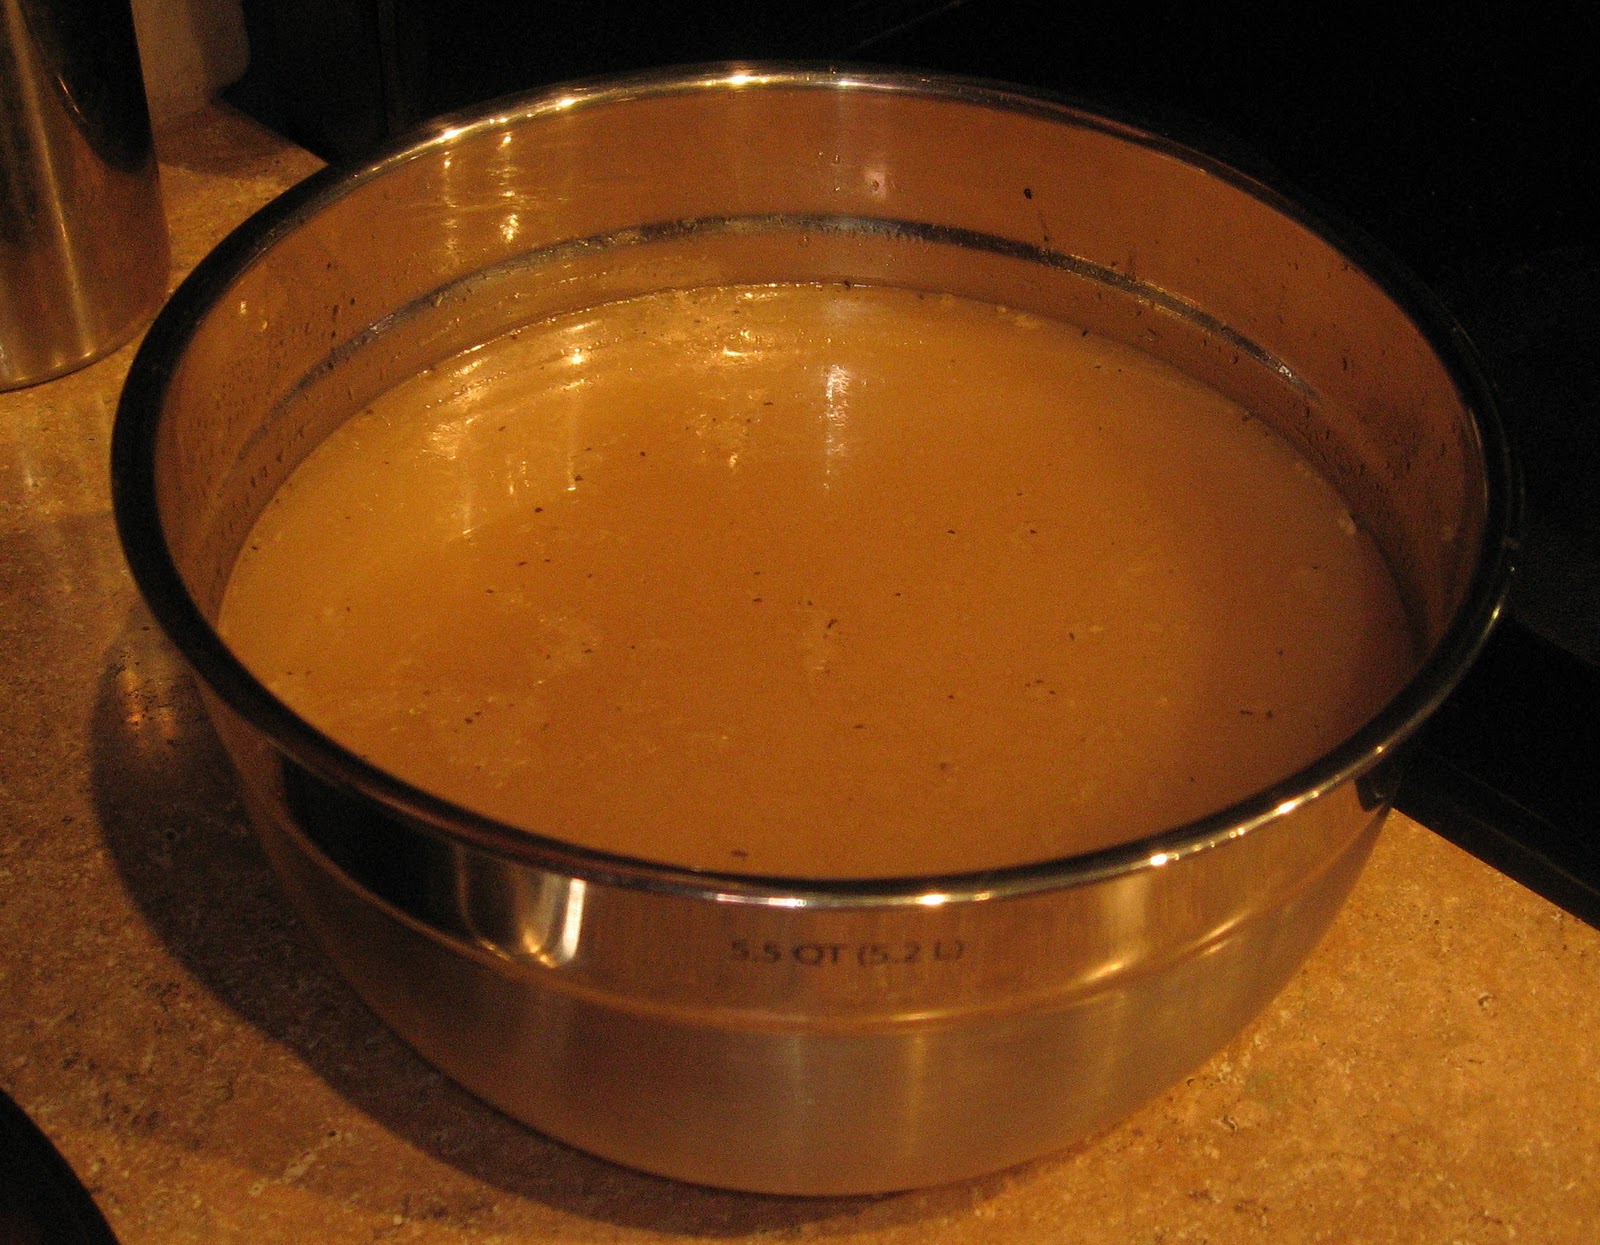
It already looks tasty, but it has a while to go. Turn on the heat as high as it can go until it starts to boil (which takes a while) and then turn it down to a tiny simmer. You will see the water on top start to get foamy. This is the fat and impurities coming to the surface. For the first hour you are going to be skimming these fats off about every 15 minutes. 


Use a shallow spoon and bit by bit take out the scum. In the words of Dory (from Finding Nemo) "Just keep skimming, just keep skimming, just keep skimming, skimming, skimming."


After an hour there should be less scum to skim and then your only job is to make sure the water is still submerging all the ingredients. Eventually the onion and garlic dissolve and a lot of the chicken melts away into the broth. The carrot softens and the celery gets really dark. The broth tastes like water in the beginning (obviously) and then starts to taste really flavorful after about 4ish hours.


After 6 to 8 hours you are done! If you have a thin strainer use that to separate the broth from the bits. I do not so I used a pasta strainer over a big bowl. It worked except for some fat bits. I let it cool and then skimmed those bits off the top. 


The food left in the pot is really gross. You can try it, but all the flavors are now in your broth so just chuck it. You should have about 5 quarts of stock. You can freeze it as one large patch or in smaller individual containers so you do not have to thaw the whole thing for a cup of stock. Enjoy!