Monday, December 26, 2011

Christmas Card


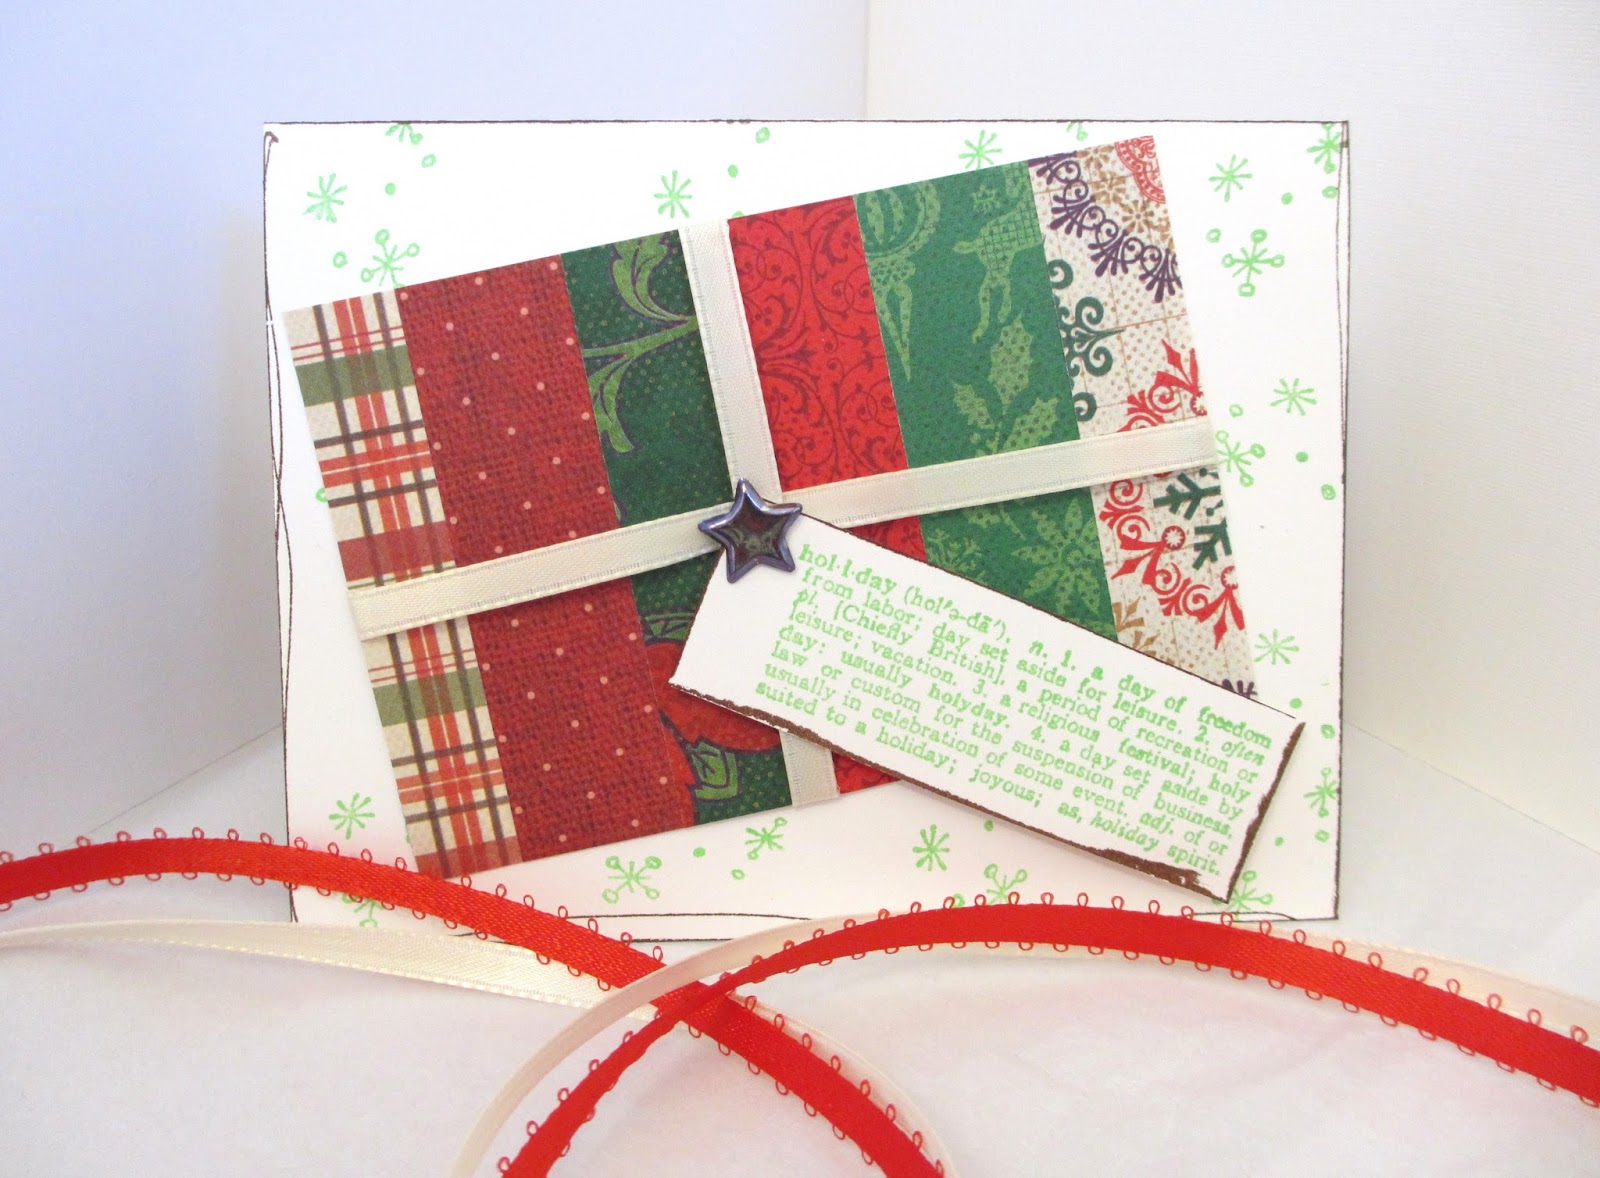
This year I really struggled to come up with a cute Christmas card. I had a couple good ideas, but they just did not come together into a finished product. With the deadline quickly approaching I settled on this design. It is not my favorite card, but it's quirky and fun. It did contain quite a few steps so I will upload a picture description of the process. 
Ingredients:
  • Cardstock - Several Christmas patterns (I used about 8)
  • White Cardstock - for the card base. One 8.5x11 cardstock paper makes two card bases. Just cut it in half.
  • Ribbon 
  • Center Brad (I used a star)
  • Stamps of your choice
  • Ink pads
  • Glue or Tape Gun


 The center "present" paper needs to be about 4"x3". Or at least make it small enough to fit on the paper. Now make the "present" tag.


Set this aside and go back to the "present" base. Make the card base with the white cardstock. Fold and stamp it.


Now finish the "present. Use ribbon to tie it up. poke a hole in the center. You may have to use scissors to cut the ribbon instead.


Now assemble the whole card. Poke the brad through the ribbon to secure the tag on the "present." Then mount the "present on the card base. To finish it off I like to add a bit of dimension by using a foam dot.


All done!


Easy Bracelet Tutorial


Bracelets are great gifts that can look really classy or fun. You can use any type of beads you want. To make a bracelet you need several tools.


Ingredients:
  • Chain
  • Clasp
  •  Flat Head Pins - about 25 depending on wrist size
  • Small Metal Circle
  • Beads
  • Needle Nose Plyers
  • Wire Cutter
 Start by measuring your chain. Cut and set aside.


For the beads you start with a pin. Slide the bead on and trim the top. You will have to experiment a bit with how much to snip. Then use your needle nose pliers to curve the tip into a circle.


Your finished product should look something like this:


Now make a bunch of these. To attach them to the chain just open the circle and slip it on the chain.


I put the beads on every third chain. To finish up put your small circle on one end and your claw clasp on the other end.


The finished bracelet should look a bit like this:


These basic skills can help you make a LOT of jewelry. You can make earrings, bracelets, anklets, or whatever you want. Be creative and try out a new skill!

Friday, December 23, 2011

Easy Yarn Ornament


This idea came to me because I had an extra ornament and some yarn out. Combine the two and you get a yarn ornament! Patience is required for this craft.

Ingredients:
  • Ornament
  • Mod Podge
  • Yarn
  • Scissors
Spread the Mod Podge on the ornament and start winding the yarn. 


The first half is the easiest. The second half is harder to get the yarn to cooperate. Just be patient and use more Mod Podge to help the yarn stick. You may have to squish the yarn down too.


It is almost impossible to make the yarn wind around perfectly so you will probably have a space on one side of the top. To fix this use smaller pieces of yarn and fill up the space.


Thursday, December 22, 2011

Mini Yarn Tree


This yarn tree was originally supposed to be a wreath, but it was taking too long to crochet so I decided to make something different. I guess crocheting is not as much fun as I thought... But, this idea turned out pretty cute so I'm glad I finished it.

Ingredients:
  • Yarn & Crochet Hook
  • Hot Glue
  • Foam Tree Shape
  • Mini Tree Ornaments or Puffs (like me!)
First crochet a LONG string. To make it wavy you single crochet twice in each loop. Then do it again the other way. To make it more curly add more crochets in each loop. Here are the three layers I made:


Once you have a very long, windy strand start gluing it on the tree. Start from the bottom and work your way up. Try to glue the yarn close together so there are no spaces. 
Glue, glue, glue and it will look something like this:


Leafy! Add some embellishment and admire your work :)